
Thursday, 25 August 2011
Wednesday, 24 August 2011
First Raider Mod
I have just fitted a power spring with 2x the strength of the stock spring. I only dared fire 6 darts, which was enough to show an obvious range increase of around 6-7ft. In order for this spring to reach its full potential I need to remove the air restrictor, add a rubber pad to the plunger and lube all the necessary parts. I may then consider simply installing the Stage 1 kit from OMW on all subsequent Raiders, as this will also provide the gun with a reinforcement plate.
I have also started painting a few of the details on the gun to show what’s available. Custom decals will also soon be on the list of upgrades.

I have also started painting a few of the details on the gun to show what’s available. Custom decals will also soon be on the list of upgrades.

Improvements
After applying a base coat to two guns, I have realised how much black spray I am using, as my 400ml can is nearly empty. To fix this, on the other half of the Alpha Trooper, I will build up the coat from a higher number of thinner layers, and paint in any hard to cover areas by hand. Hopefully this way I’ll be able to save some paint and money.
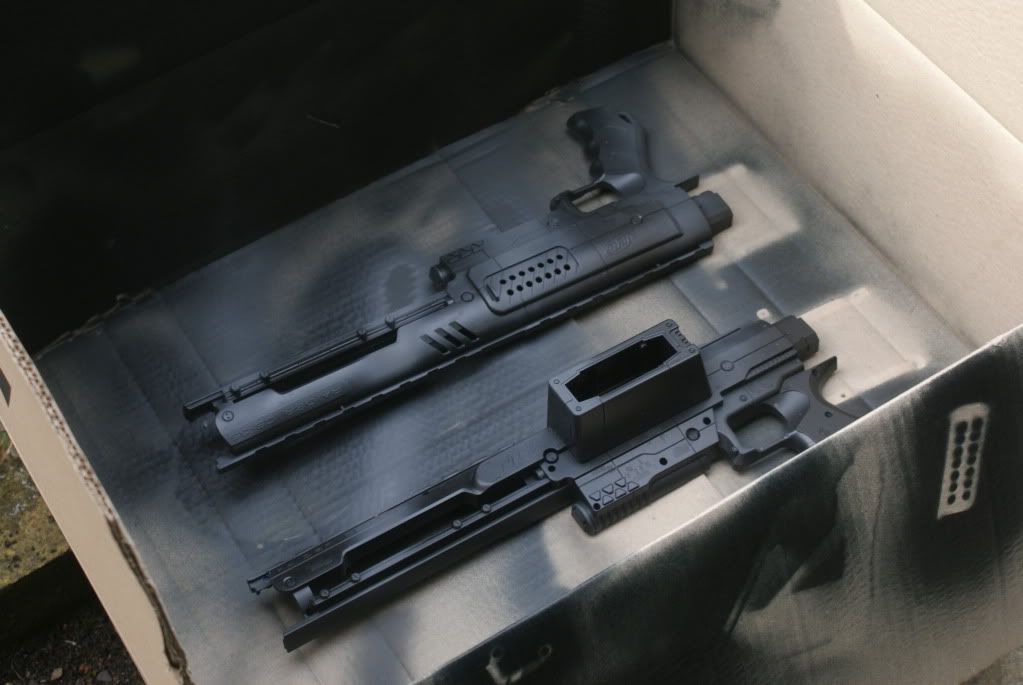
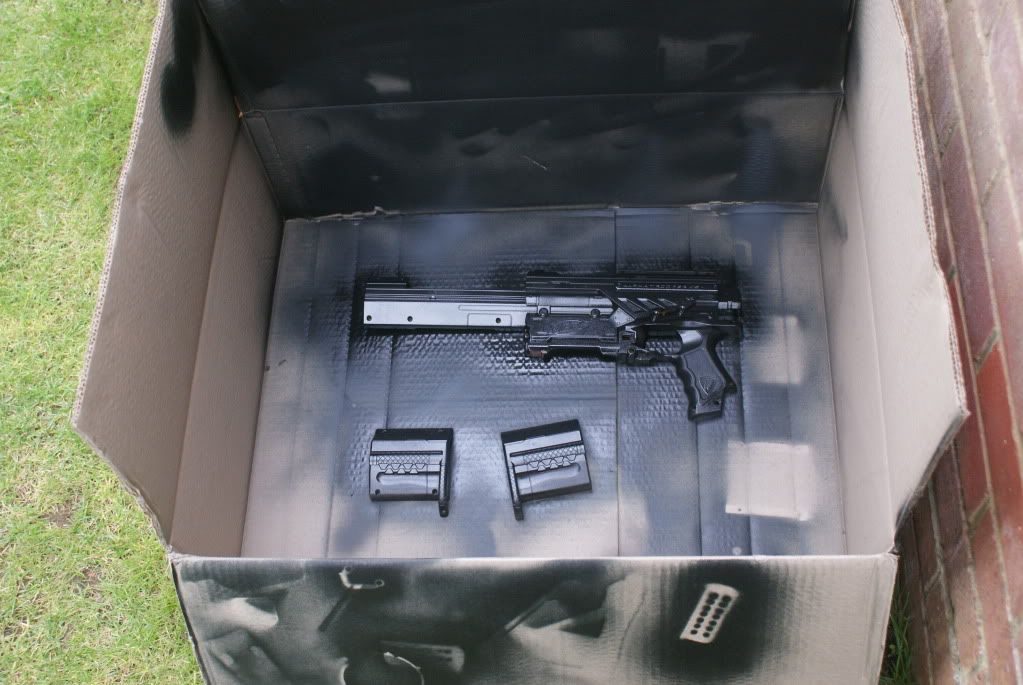
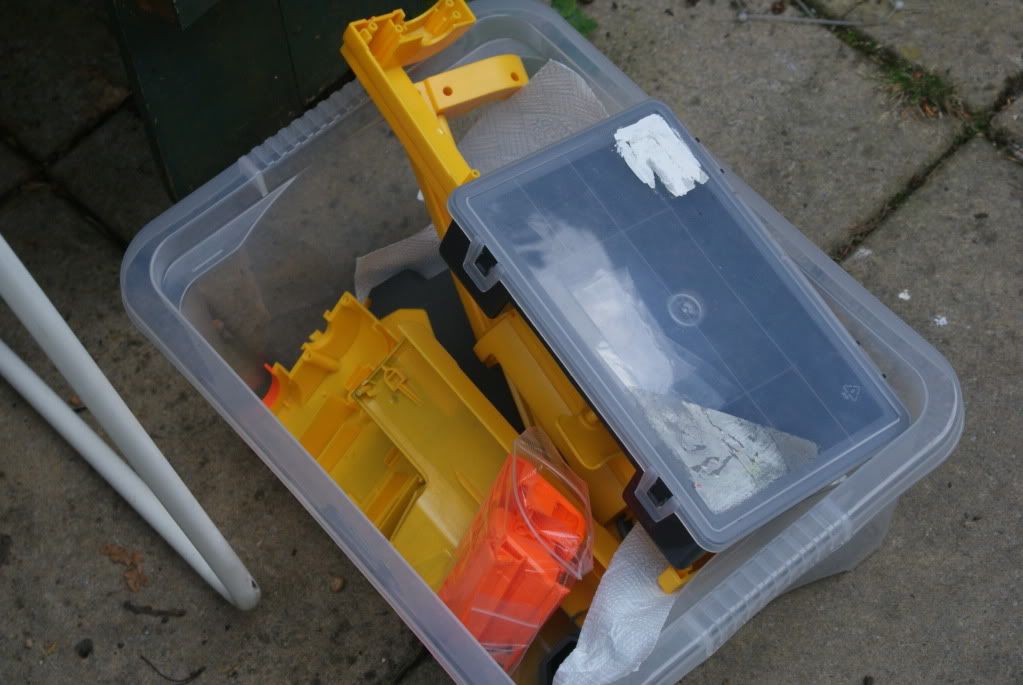
When I was applying the second coat to the Raider, I noticed that where I had both halves laid out in the box, some of the paint didn’t hit the gun where I wanted it to (see image below). Taking this into account, next time I add another colour, I’ll assemble both halves of the gun and either spin it round as I’m spraying or spray around it, to provide an even finish.
Oh, and I don’t like Deploy internals. Gonna try and get around painting these bad boys without taking them apart. Also going to research a proper method of unscrewing the buggers so I can try my hand at performing some mods on the interior of the one gun that actually functions.
Monday, 22 August 2011
Custom Raider
Okay, so I know no one actually reads this blog yet, but hopefully once I start getting some content on here that will change.
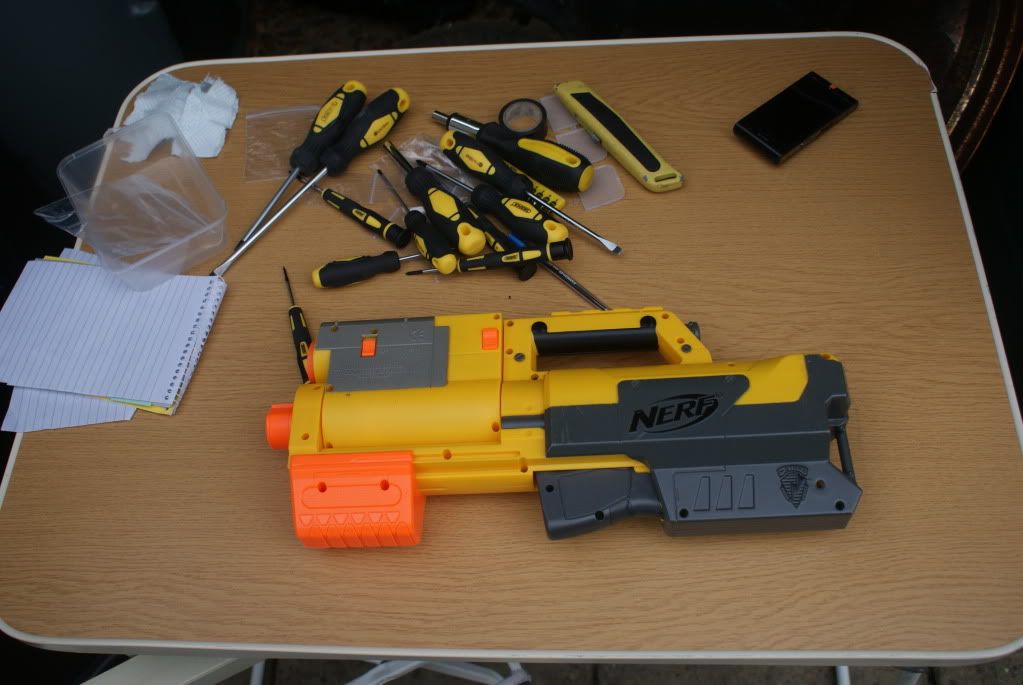
I'm currently working on three guns. The first being the Raider CS-35. The plan for this is to have a simple Tier 1a (more on Tiered Schemes when I open shop) scheme, with a urban military-type feel. Nothing too flashy, its my first gun so I just want to get to grips with some of the modification processes and painting techniques.
This gun has just been undercoated and I've added the second colour (Dark grey stripes). I will remove the AR and insert a power spring, just to beef the gun up a bit.

The second gun I'm working on is an Alpha-Trooper CS-18. For this blaster I will install a power spring, remove the AR and give it a Halo appearance and feel. This gun will feature a Tier 2a colour scheme, giving it 1 more colour than the Raider. Again this is just a practice run, if you like, so that I can build up useful skills and knowledge. I will also paint up the 18-round mag for this gun, although it doesn't work, (damned Brothers!) and I'll tie the paint job in with the gun.

The third gun(s?) I have is a Deploy. Or 6. I recently purchased them from eBay, and whilst only one of them fully functions correctly, I can certainly improve my work by painting and (possibly) fixing and modifying the internals on these guns. If all fails I can paint them up nicely to show examples of the different Tiers of colour schemes available. I also have the idea of mixing and matching parts between the guns so that as many as possible function correctly. In this case I would like to modify and paint one to look similar to the Halo BR. I think this could easily be achieved with a barrel extension.
Before:


I'm currently working on three guns. The first being the Raider CS-35. The plan for this is to have a simple Tier 1a (more on Tiered Schemes when I open shop) scheme, with a urban military-type feel. Nothing too flashy, its my first gun so I just want to get to grips with some of the modification processes and painting techniques.
This gun has just been undercoated and I've added the second colour (Dark grey stripes). I will remove the AR and insert a power spring, just to beef the gun up a bit.
The second gun I'm working on is an Alpha-Trooper CS-18. For this blaster I will install a power spring, remove the AR and give it a Halo appearance and feel. This gun will feature a Tier 2a colour scheme, giving it 1 more colour than the Raider. Again this is just a practice run, if you like, so that I can build up useful skills and knowledge. I will also paint up the 18-round mag for this gun, although it doesn't work, (damned Brothers!) and I'll tie the paint job in with the gun.
The third gun(s?) I have is a Deploy. Or 6. I recently purchased them from eBay, and whilst only one of them fully functions correctly, I can certainly improve my work by painting and (possibly) fixing and modifying the internals on these guns. If all fails I can paint them up nicely to show examples of the different Tiers of colour schemes available. I also have the idea of mixing and matching parts between the guns so that as many as possible function correctly. In this case I would like to modify and paint one to look similar to the Halo BR. I think this could easily be achieved with a barrel extension.
Before:
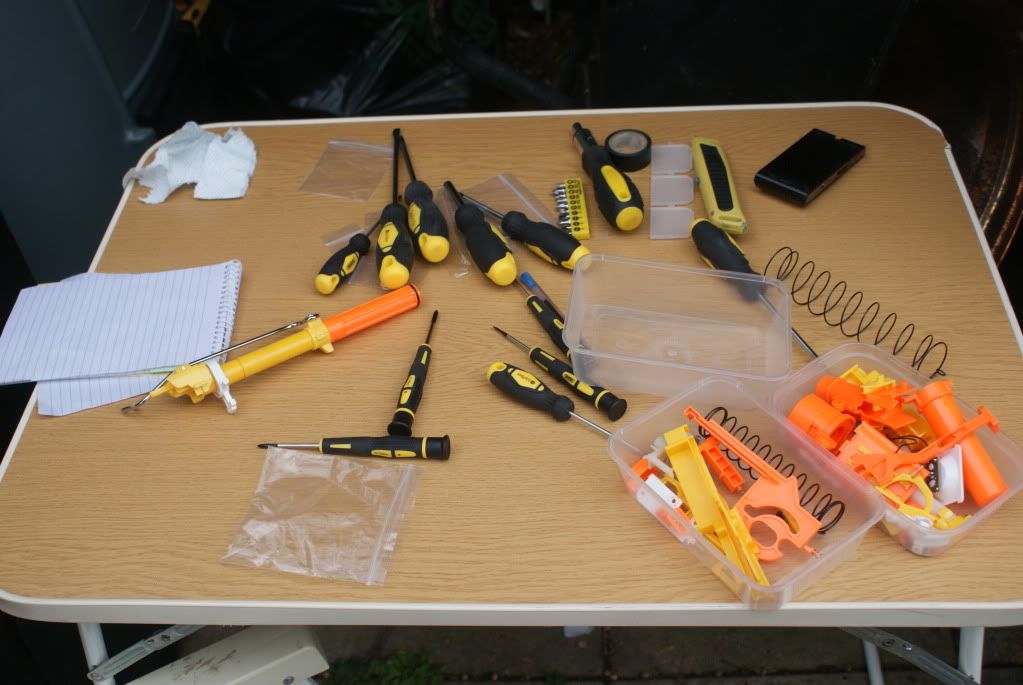
During:
After:
After gutting this Deploy I doubt I'll be modifying and selling any, the internals of this gun are out of this world! This particular gun will be purely for display, with a Tier 3a camo scheme.
That's all for now, I'll be back soon with more updates on the guns!
NMS.
Thursday, 11 August 2011
Welcome to Custom Nerf Sales!
My name's James and I live in Hampshire, England.
This is my new blog where I will be posting and selling Customised Nerf Guns. Shortly I will post a rough price guide*, including a table of all the modifications available.
I will also post some samples of my work over the next week.
I am not accepting orders as of yet, but as soon as I do I will post on here announcing this.
Thanks for visiting and reading, I hope you enjoy my work.
James
*Please note that the guide will be an estimate at first, and shipping costs will need to be considered for the final price.
Disclaimer: I will not be held responsible for any injuries caused by my products, that responsibility lies solely with the user of the gun. I will also not be held responsible for any posted products after I have posted them, as they are then out of my hands and my control (Postal Insurance will be available, more details on this when I start taking orders.)
Subscribe to:
Comments (Atom)